
sing a wire stripper is simple once you understand how it works. It’s a handy tool used to remove the insulation (plastic coating) from electrical wires so you can connect or crimp them. Here’s a step-by-step guide 👇
🧰 What You’ll Need
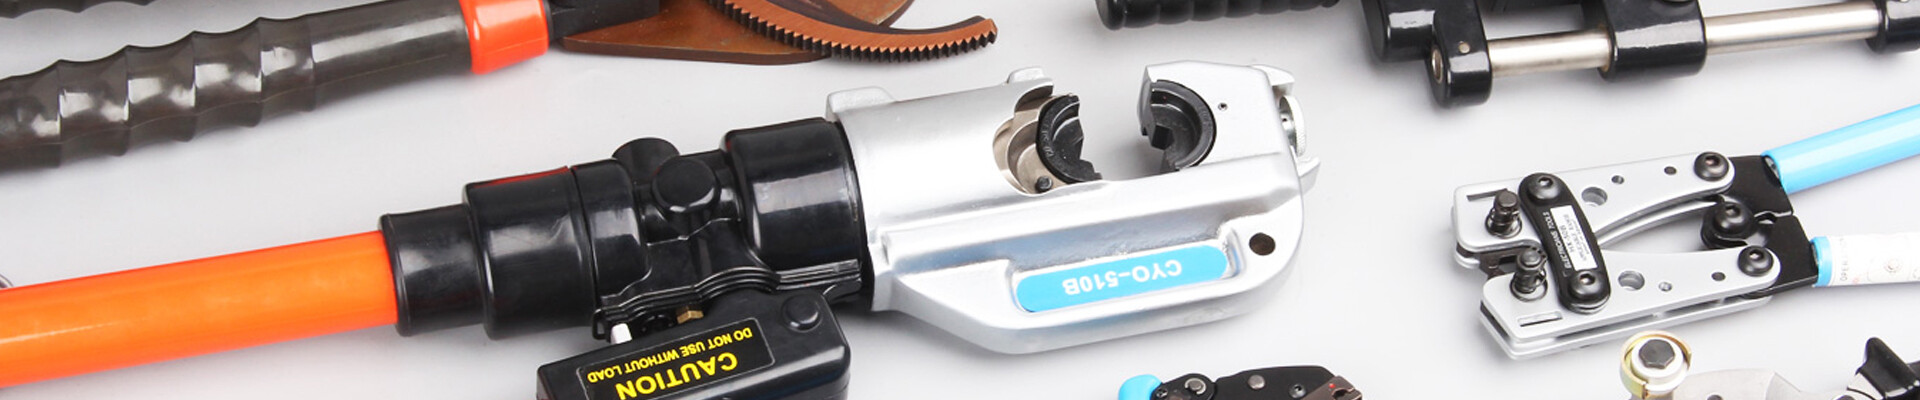
- A wire stripper (manual, automatic, or combination tool)
- The wire you want to strip
🪛 Step-by-Step Instructions
1. Choose the right gauge hole
Most wire strippers have several notches labeled with wire gauges (e.g., 10, 12, 14, 16, 18 AWG).
- Look at your wire or its packaging to find its gauge.
- Select the hole on the stripper that matches the wire’s gauge.
2. Insert the wire
- Place the wire into the correct gauge notch.
- Position it so only ½ to ¾ inch (1–2 cm) of insulation is beyond the jaws (enough for your connection).
3. Squeeze the handles
- Gently squeeze the handles of the stripper until it cuts through the insulation.
- Don’t crush too hard—you only want to cut the outer plastic, not the copper wire inside.
4. Pull off the insulation
- Once the insulation is cut, pull the stripper toward the end of the wire.
- The insulation should slide off, exposing the bare wire strands underneath.
5. Check your work
- The exposed wire should be clean and undamaged (no nicks or cuts in the copper).
- If the wire strands are cut or damaged, snip that section off and try again.
⚡ Tips & Safety
- Always make sure the wire isn’t live (power off before stripping).
- Use a precision stripper for small wires (electronics) and a heavy-duty one for thick cables.
- Twist stranded wire gently after stripping to keep it neat.
- Avoid using scissors or knives—they can nick the wire and cause breaks or shorts later.
Would you like me to explain the different types of wire strippers (manual vs. automatic vs. self-adjusting) and when to use each?
Awesome! Share to:
Related Posts
- Why there is so many level prices for battery crimping tools in China
- Key point quality control with precisely and anti-oil leakage ? for Hydraulic tools
- Wind vs. Solar: Which Wins the Renewable Energy Race? ?️ ☀️
- The Critical Role of Hydraulics in Wind Energy Reliability
- Wire ferrule crimping tools portable type

First class quality service and professional after-sales team.
Get in Touch
*We respect your confidentiality and all information are protected.
By clicking 'Allow All', you agree to the storage of cookies on your device to enhance site navigation, analyze site usage and assist with our marketing efforts.